After
taking delivery of s/v Florian in mid-April, Don and I were eager to get better acquainted with her via some polish & shine projects we documented with our iphone cameras - especially the fast and easy stuff that doesn't require a Master Electrician's license. If you're a long-term boater, you might read our excitement with shaking heads - chuckling sarcastically at our enthusiasm - since boat stewardship is a never ending, widely meandering and at times bumpy ride of repairs, replacements, and mysteries. Our excitement over "projects" marks us as newbies, right? Perhaps, but take heart; we've been duly warned. And, over the years, we've listened, watched, and at times, participated in some of the maintenance of other boats, but that's a different story for another post.
 |
s/v Florian 30 minutes into her first dip in the Pacific
after a cross country truck ride from Maine. |
Florian's Dorade vents/cowls were removed for her transport over land. We saw them tucked into the v-berth when she arrived in Ventura, and noticed they could use a new coat of paint, since the existing layers were pocked along the edges of the vent rim, and floating in curved chips like leaves inside the cowls.
 |
| Florian's dorade vents in the v-berth |
 |
| First, Don used a power washer to pull the old paint off the vents. |
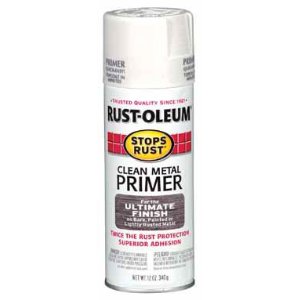
We used
this primer on the dorades.
 |
| Blue painter's tape and paper towels as masks, and a sheet of cardboard as a base |
Don placed a sheet of cardboard under the vents so he could spray the primer inside the cowels. Using small strips of blue painter's tape, he masked the arc of the vent rims, and secured paper towels around the back and neck exteriors to protect the bronze from overspray.
Don used a brush-on version of
this enamel
 |
| After removing the tape and paper towels, we have shiny, red vents! |
 |
| Don removing the dorade caps to replace the newly painted vents. |
 |
Screwing the vents into place, and sealing the deal
that our first boat project was complete! |
For all my excitement about our first project, you might have noticed that each line of this post started with 'Don cleaned...', and 'Don removed...', etc. The only part I played in this inaugural endeavor was the purchase of the supplies, and the snapshots of the install, because I was out of town. :( But fear not! I have a loooong list of other projects - some of which are already under way, from nesting & comfy-enhancing improvements, to wood treatments and electrical mysteries, so stay tuned!


4 comments:
Nice big cowls and a great job painting them, too. They should provide plenty of air flow. There's no doubt you'll both be immersed in boat projects as time goes on. Have fun with it all.
They look great!
As if she didn't already look beautiful enough. But those vents sure came out great. I wonder if there's anything I can use to paint the icky old rubber ones on my boat...
Thanks for the compliments, y'all.
Dane, I've read that the rubber cowls can be cleaned really well, and spray painted with the same stuff we used on the bronze, but the "for plastic" version. We have two yellowish rubber cowls to recondition too, so I'll post details after we clean them and see if that improves the faded-yellow factor.
Post a Comment